What you need before you start
Setting up a VPN on Android is simpler than many guides make it sound. For most users, the entire process is:
- install the app,
- allow Android’s VPN permission,
- connect,
- verify that traffic is going through the VPN.
The real mistakes usually happen after installation: choosing the wrong protocol for the network, assuming every app should stay inside the tunnel, or not checking whether the VPN still works after a reconnect.
Step 1: install a VPN app you can actually trust
Start with a VPN app that has a clear Android workflow and a business model you can understand. If the product immediately asks for an account, shows ad-heavy onboarding, or hides what is free, that is already a product signal.
NimbusVPN keeps the install path simple because the goal is to get a user connected quickly, not to bury value behind an onboarding maze.
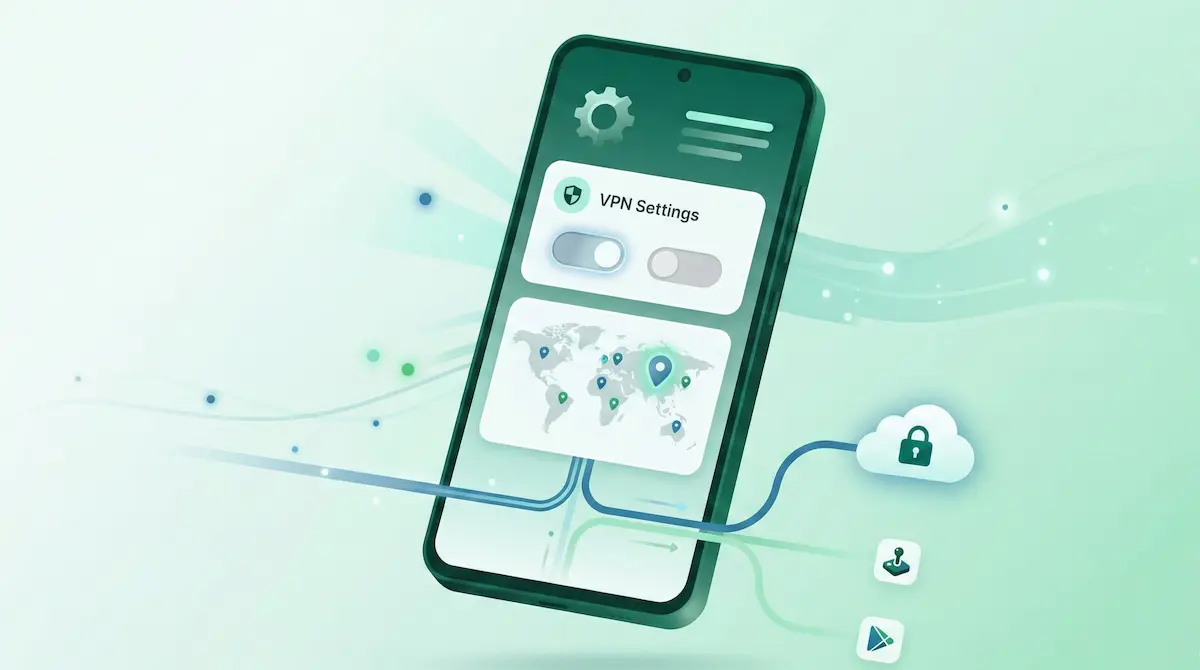
Step 2: allow Android’s VPN permission
When you first connect, Android will ask for system permission to create a VPN tunnel. This is normal. The operating system is warning you that network traffic may be monitored or routed by the VPN app.
Grant that permission only if you trust the app and understand why you are installing it.
Step 3: choose the right protocol
Protocol choice is one of the biggest beginner mistakes because many users never think about it.
Start with WireGuard on ordinary networks
For normal home Wi-Fi, office Wi-Fi, and mobile data, WireGuard is usually the best default because it is fast and efficient.
Switch if the network becomes restrictive
If the network behaves strangely, filters VPN traffic, or feels unstable, switch to XRay (VLESS) if your app supports it. NimbusVPN does this through its WireGuard and XRay (VLESS) feature page.
Step 4: connect and test one real task
Do not stop after tapping “Connect.” Run one real task:
- open a browser,
- load a site you know,
- use the app you actually care about,
- test the network that made you want the VPN in the first place.
This is the fastest way to catch problems early.
Step 5: decide whether you need split tunneling
Beginners often assume every app should always use the VPN. That sounds safer, but it is not always practical.
You may want split tunneling if:
- a banking app dislikes VPN traffic,
- a local streaming app breaks,
- a smart-home tool must stay on the home route,
- a game needs lower latency than the VPN route gives you.
NimbusVPN explains the workflow in its split tunneling guide.
Step 6: turn on stricter protection if you need it
If you want Android to avoid falling back to an open connection during drops, look at kill switch guidance. On Android, this is usually done through the native always-on VPN controls rather than an in-app marketing toggle.
Common beginner mistakes
Installing without testing
A connected badge is not enough. Test one real site or app.
Using the wrong protocol everywhere
WireGuard is a strong default, but restrictive hotel or travel networks may need a fallback.
Forcing every app through the tunnel
That can create friction where split tunneling would be a better fit.
Assuming a VPN solves every privacy problem
A VPN helps with routing and local network exposure. It does not replace app hygiene, safe passwords, or cautious browsing.
Final checklist
Before you finish setup, confirm these points:
- The app installed and Android permission was granted.
- A real website or app worked while connected.
- The chosen protocol matched the network behavior.
- Split tunneling was configured only if needed.
- Always-on protection was enabled if stricter behavior matters.